Shrimply Explained is currently undergoing renovations. Please don't buy anything yet. Thank you!
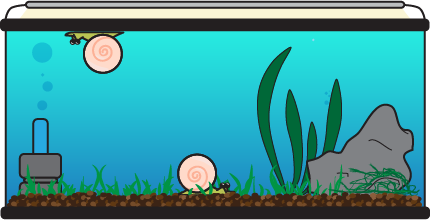
Every shrimp keeper wishes they could simply throw some substrate and plants in a tank, fill it with water, then immediately place our beautiful shrimp in (with proper ceremony, of course). Unfortunately, a brand-new tank doesn't provide the stable environment shrimp need to thrive because a balanced ecosystem hasn’t been established.
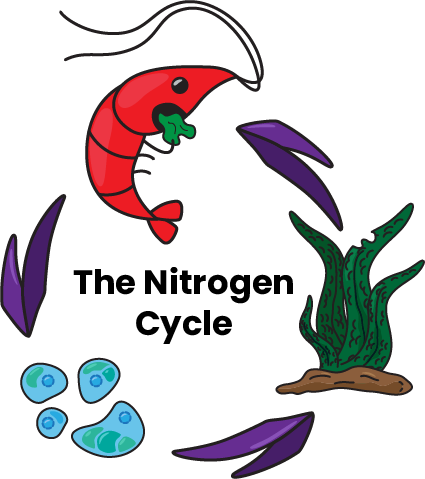
As mentioned in other Shrimp School lessons, the key to shrimp keeping is providing a stable environment for your shrimp. To achieve one, you need to recreate the natural nutrient cycles that happen in all bodies of water on our planet. That is accomplished by “cycling” your tank. This guide explains what tank cycling is, what the different cycling methods are, and provides instructions for cycling your shrimp tank.
Other Shrimp Content
We have a lot of content coming soon. Please follow us on social media and subscribe to our newsletter for updates and useful shrimp care tips!
The different species of BB need to be introduced to your tank in a process called seeding. The best and fastest way to seed your new tank is by adding a filter (or filter media) from a cycled tank. Filters have a lot of surface area to house BB and other healthy microorganisms, so they help establish a healthy ecosystem the fastest. If you don’t have an established tank, then see if a friend or someone from the local aquarium society is willing to put an additional filter into their tank for a week or two to pre-seed it for you.
Another option is to pour bottled BB products like FritzZyme 7 into your tank. In addition, aquatic plants and animals have some BB growing on them, so they can also seed your tank. These methods introduce fewer microorganisms than a pre-seeded filter, however, so adding a filter or substrate from another tank is always the best option.
There is disagreement about whether adding water from an established tank can help seed your tank. Some people claim that BB only grow on surfaces of a tank and are not found in the water column. This is untrue, as demonstrated in an experiment by Li et al. (2018) that compared the presence of BB in the substrate versus the water column of an estuary. They found the concentration of BB in substrate to be anywhere from equivalent to twenty times what was found in the water. This suggests that seeding an aquarium with water from an established tank may work, but it is much more effective to put in a pre-cycled filter or substrate.
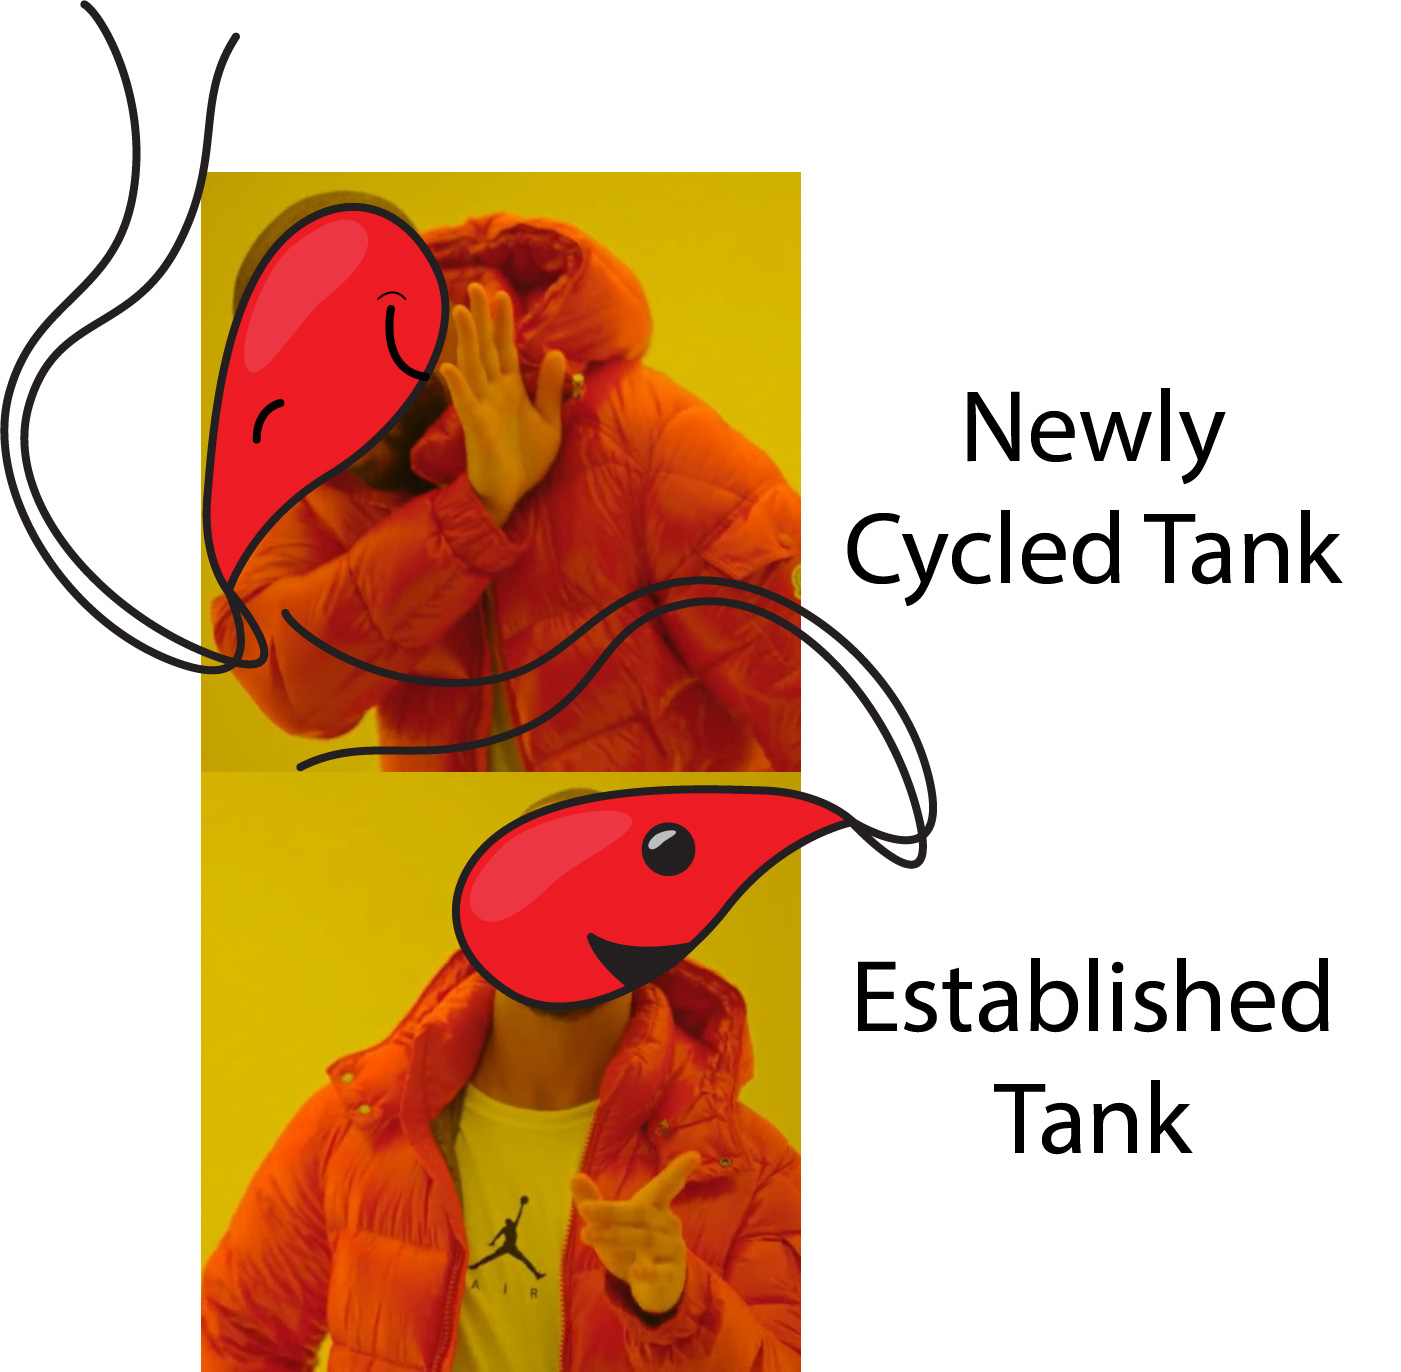
A cycled tank is not necessarily ready for shrimp. This is because, in practice, you can cycle a tank in a week using an ammonia source and bottled beneficial bacteria. At that point, your tank may be able to handle some amount of ammonia, but it does not have a well-established ecosystem of plants, bacteria, and microorganisms that support shrimp. This may lead to a lack of food, unstable water conditions, and dead shrimp.
As a shrimp keeper, your goal is to have an established tank, not just a cycled tank. An established or “mature” tank has stable and healthy plants, along with diverse bacteria and microorganisms. A tank typically takes 6-8 weeks to establish sufficiently for shrimp. That requires some patience but it pays off big-time toward your success as a shrimp keeper.
Now, let’s dig a little deeper into cycling.
Side Note: Water changes aren't the only way to remove nitrates. Plants absorb ammonia and nitrates from the water to use as a food source. According to Diana Walstad, aquatic plants actually prefer ammonia but will absorb nitrates when ammonia is not available. Her linked paper also suggests that aquatic plants absorb nitrites, but she states there is not enough scientific studies to conclude it.
By understanding this process, it’s easier to cycle your tank because you know what to look for. For example, nitrites won’t show up in our tank until the bacteria responsible for breaking down ammonia are established. Likewise, nitrates won’t appear until enough nitrite-converting bacteria are established. This succession explains why nitrites take a while to appear after adding ammonia to the tank and why nitrates follow afterward. Over time, the bacteria that break down ammonia and nitrites become very efficient, leading to immediate conversion that leaves only nitrates left in the water, as shown in the graph below.
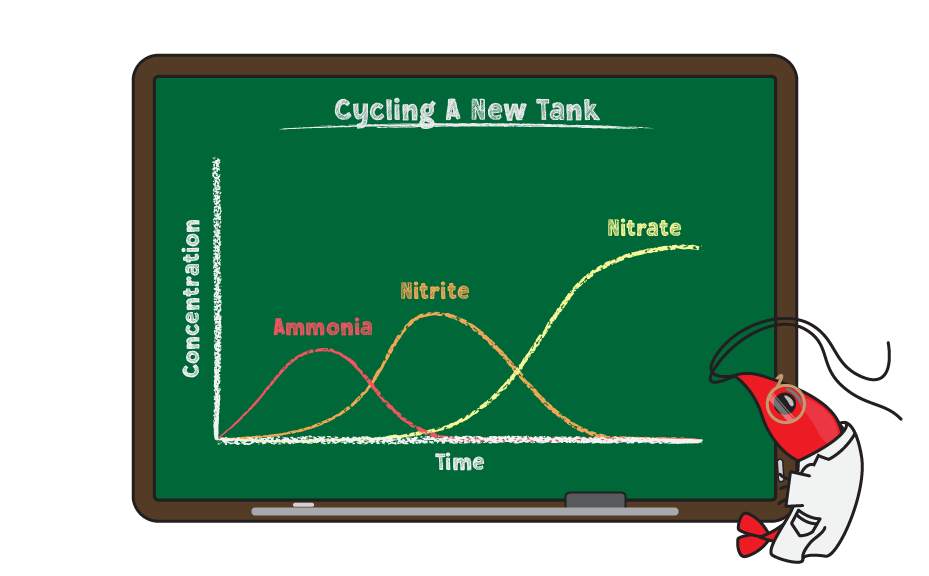
Over time, these bacterial populations get used to the amount of ammonia added/produced in the tank. This amount of ammonia is called your bioload. If the bioload changes (i.e. when you add new animals) then your tank ecosystem becomes less stable until the BB adapt. In extreme circumstances, your cycle can “crash” if a high bioload overwhelms the BB—or if too low of a bioload starves them for long enough. To prevent this problem when adding animals like shrimp to your tank, you need to choose the right cycling method.
There are three different cycling methods, depending on the ammonia source. They are the:
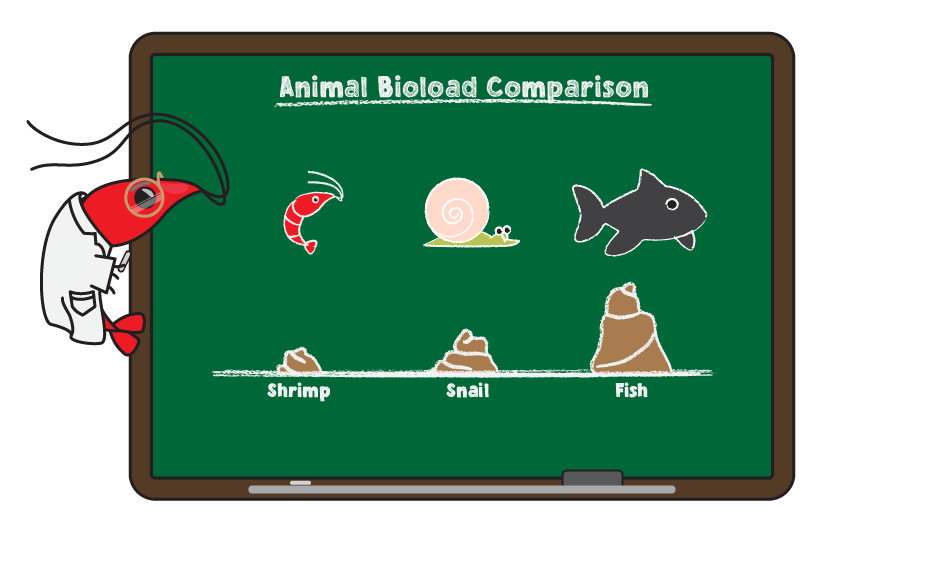
The ammonia source for this cycling method is--as you might guess from the name—a fish. After setting up a new tank, you add a fish and feed it periodically. Since the fish produces waste, ammonia builds up over time and BB start to establish. This is extremely stressful for you and the fish, since you have to frequently measure the ammonia and do water changes to keep it below lethal levels for the fish. Once the cycle is established, you can add additional animals to the tank. When you do, you have to add just a few animals at a time to avoid suddenly increasing the tank bioload. This is not as much of a concern with shrimp because they have an extremely low bioload, so 10+ dwarf shrimp may produce the same amount of ammonia as a single fish. The graph below helps visualize how the bioload changes when different animals are added.
Cheap hardy fish are typically used for this cycling method but, even still, they often get ammonia burns or die of stress. This method was widely used in the 80s and 90s but has since been phased out since it is slower than other methods and considered inhumane to the fish.
Pros:
Cons:
This method uses (you guessed it again!) snails as an ammonia source, instead of fish. Just throw a few snails into the tank (depending on tank size), then feed a couple pellets every few days and let them do their thing. This method takes about as long as Fish-In Cycling but is less cruel because snails have a much higher ammonia tolerance. In fact, ramshorn snails can easily survive and reproduce in up to 5 mg/L TAN (Total ammonia nitrogen) and grow in up to 20 mg/L of TAN, whereas fish experience acute toxic effects at 3.5 mg/L in 6.5 pH water. This means that frequent water testing and water changes are not required for Snail-In Cycling, as ammonia is unlikely to reach harmful levels unless the tank is absolutely stuffed with snails. Another great thing about this method is that--unlike with a fish-in cycle--you often don’t have to go and buy any animals. Most plants come with bladder or ramshorn snails, even when they claim to be snail-free. These small “pest” snails are perfect for cycling because they reproduce quickly to increase the bioload of the tank over time, letting BB build up without worries about excess ammonia build-up. In addition, the snail-in cycling method lets your cleaning crew get well-established, so they break down any decaying plant matter or food that might otherwise affect water quality. Lastly, if your snails survive the cycle, then you know your tank doesn’t have harmful levels of copper or other chemicals that may kill your shrimp.
Pros:
Cons:
There is almost never a need to do a fish-in cycle, especially for shrimp tanks. It has some cruelty concerns and is a hassle. This narrows down the decision to Snail-In or fishless cycling.
Choosing from these two is a matter of understanding what bioload each method prepares your tank for. When done properly, the fishless cycle prepares your tank for around 2 ppm of ammonia per day, which is a relatively high bioload. In contrast, the snail-in method prepares the tank for a lower bioload.
Now, let’s imagine what happens when you decide to introduce shrimp. For a fishless cycle, you would stop adding any ammonia before adding shrimp. This leads to a drop from 2 ppm of ammonia per day to almost no ammonia since shrimp have a very low bioload. When this transition happens, all the BB you’ve built up during your cycle might not get enough ammonia to survive, so they go into stasis. Your plants also get used to a certain amount of food (ammonia), so they need to adapt and may slow their growth. This leads to changes in nutrient availability throughout your ecosystem, affecting the rest of the microorganisms in your tank. Your cycle might not crash, but the tank gets destabilized when you remove the artificial ammonia source and add shrimp, which is the opposite of what you want.
The graphs below demonstrate the change in bioload when you add shrimp after cycling via the fishless or snail-in method.
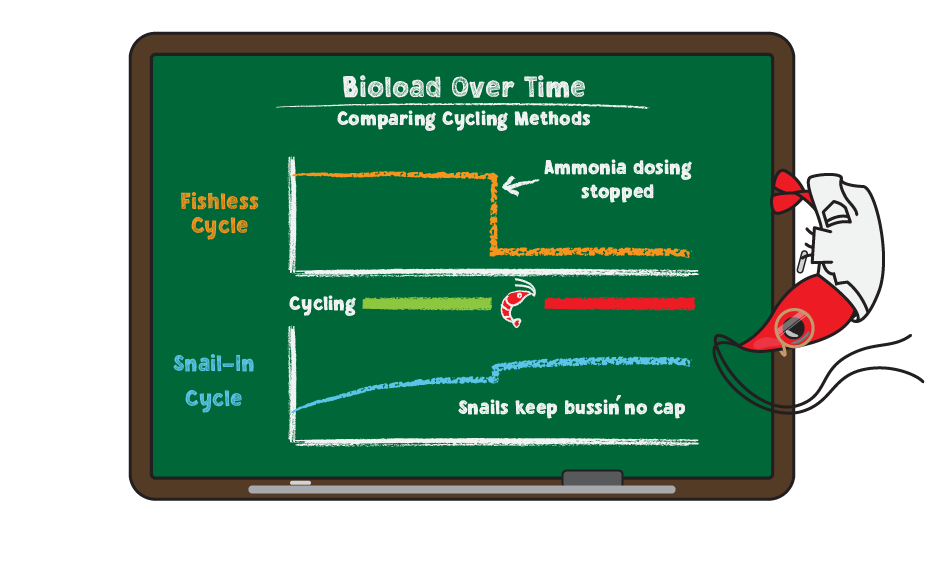
Snail-in cycling leads to a more stable ecosystem for your shrimp because it lets the main bioload source (snails) get established. When you finally add shrimp, they increase the bioload slightly but it’s by so little that your tank adapts easily.
In conclusion, if you’re just planning to add shrimp to your tank, then we recommend snail-in cycling because it is incredibly easy. If you plan to add fish or larger animals, or if you hate “pest” snails, then the fishless cycle is the better option.
Check out Shrimp Basics 106 – Cycling Your Shrimp Tank for Snail-In cycling instructions. See below for fishless cycling instructions.
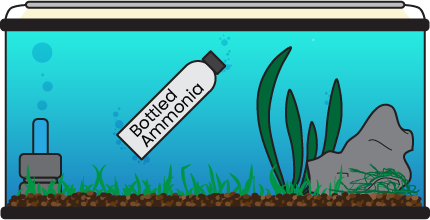
Fishless Cycling With Bottled Ammonia
By understanding the purpose of cycling and the different methods of accomplishing, you’re one step closer to a thriving shrimp tank. The hard part is waiting the 6-8 weeks needed to fully establish your tank’s ecosystem. Being patient is tough but your shrimp will thank you! The last thing to do before putting shrimp in your tank is to acclimate them – meaning to get them used to the water in your tank, which is inevitably different than the water they grew up in. This transition can be stressful and is the last major barrier that holds a lot of shrimp keepers back. Check out Shrimp Basics 106 – Acclimating Shrimp, to learn how to safely acclimate new shrimp to your tank! If you have any questions or comments, please don't hesitate to reach out via email or social media.
Happy shrimpin’!
Pssst... Want to learn everything you need to know to have happy and healthy freshwater shrimp? We've got you covered with clear, concise, and fun information in every lesson of The Shrimp School!
You know it's true because we have a badge.